What to Expect During the Sealcoating Process
Maintaining a professional appearance and structural integrity for your asphalt requires more than just occasional cleaning; it requires a strategic approach to sealcoating.
Asphalt is a resilient material, but it is constantly under siege from the elements. In a bustling city like Hamilton, where weather shifts can be extreme, your parking lot or driveway faces constant UV exposure, water penetration, and chemical spills. Sealcoating acts as a protective shield, extending the life of your pavement and preventing costly repairs.
At Capital Parking Lot Line Painting, we believe that an informed client is a happy client. Understanding the technical stages of sealcoating helps you prepare your property and manage expectations regarding downtime and maintenance.
Phase 1: Thorough Surface Preparation
The secret to a long-lasting sealcoat isn't just the liquid applied; it is the preparation that happens before the first drop hits the ground. You cannot simply pour sealer over dirt and debris and expect it to bond.
Cleaning and Clearing
The first step involves removing all loose debris, sand, and vegetation. We use industrial-grade blowers and wire brushes to ensure the asphalt is surgically clean. Any organic matter left behind can rot under the sealer, creating air pockets that cause the coating to fail prematurely.
Repairing Cracks and Depressions
Sealcoating is a protective layer, not a filler. If your asphalt has deep cracks or significant potholes, these must be addressed first. Capital Parking Lot Line Painting utilizes specialized crack-filling compounds to seal these gaps. This prevents water from seeping into the sub-base, which is the primary cause of asphalt failure in Ontario climates.
Phase 2: The Application Process
Once the surface is pristine and repaired, we move into the application phase. There are several methods to apply sealer, depending on the size of the area and the desired finish.
- Spray Application: Best for large, expansive areas to ensure a thin, even, and consistent coat.
- Squeegee Application: Ideal for smaller areas or areas requiring a thicker build, as it forces the sealer into the pores of the asphalt.
- Combination Methods: Often used to achieve both depth and a smooth finish.
During this stage, you may notice a strong odor. This is normal and is a sign of the high-quality coal tar or asphalt emulsion being used to create a durable bond.
Phase 3: Enhancing Visibility with Line Marking
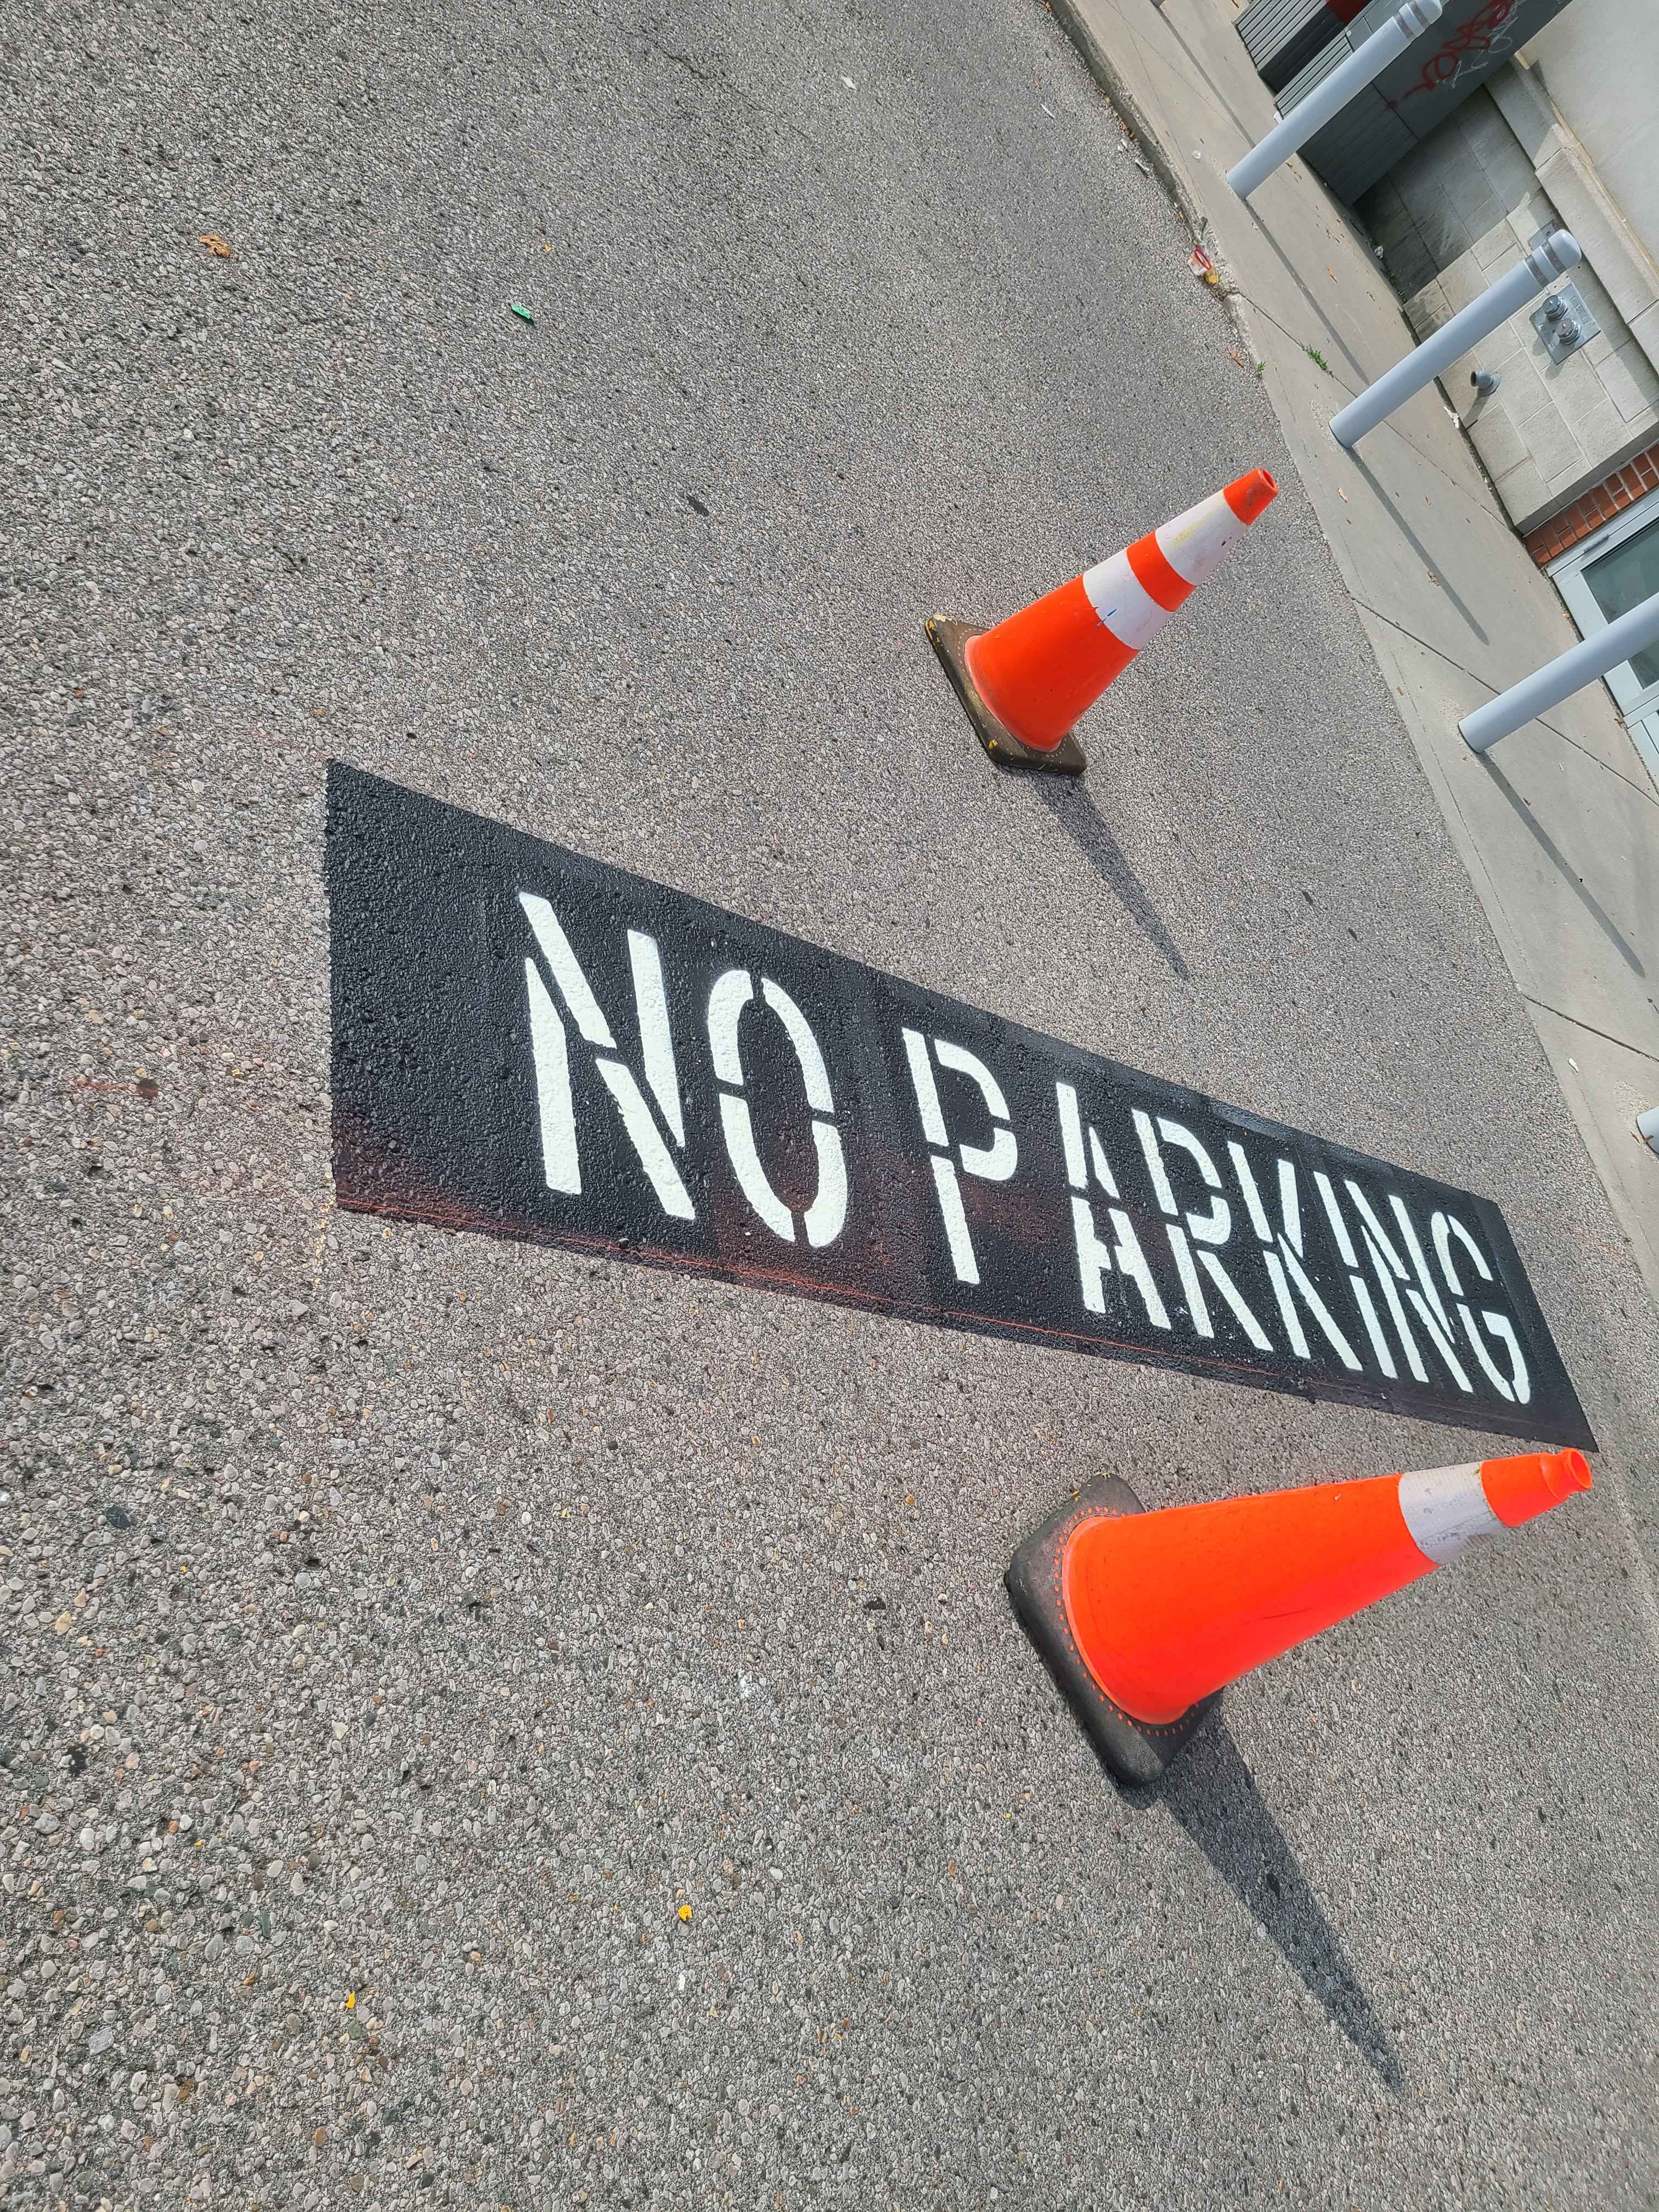
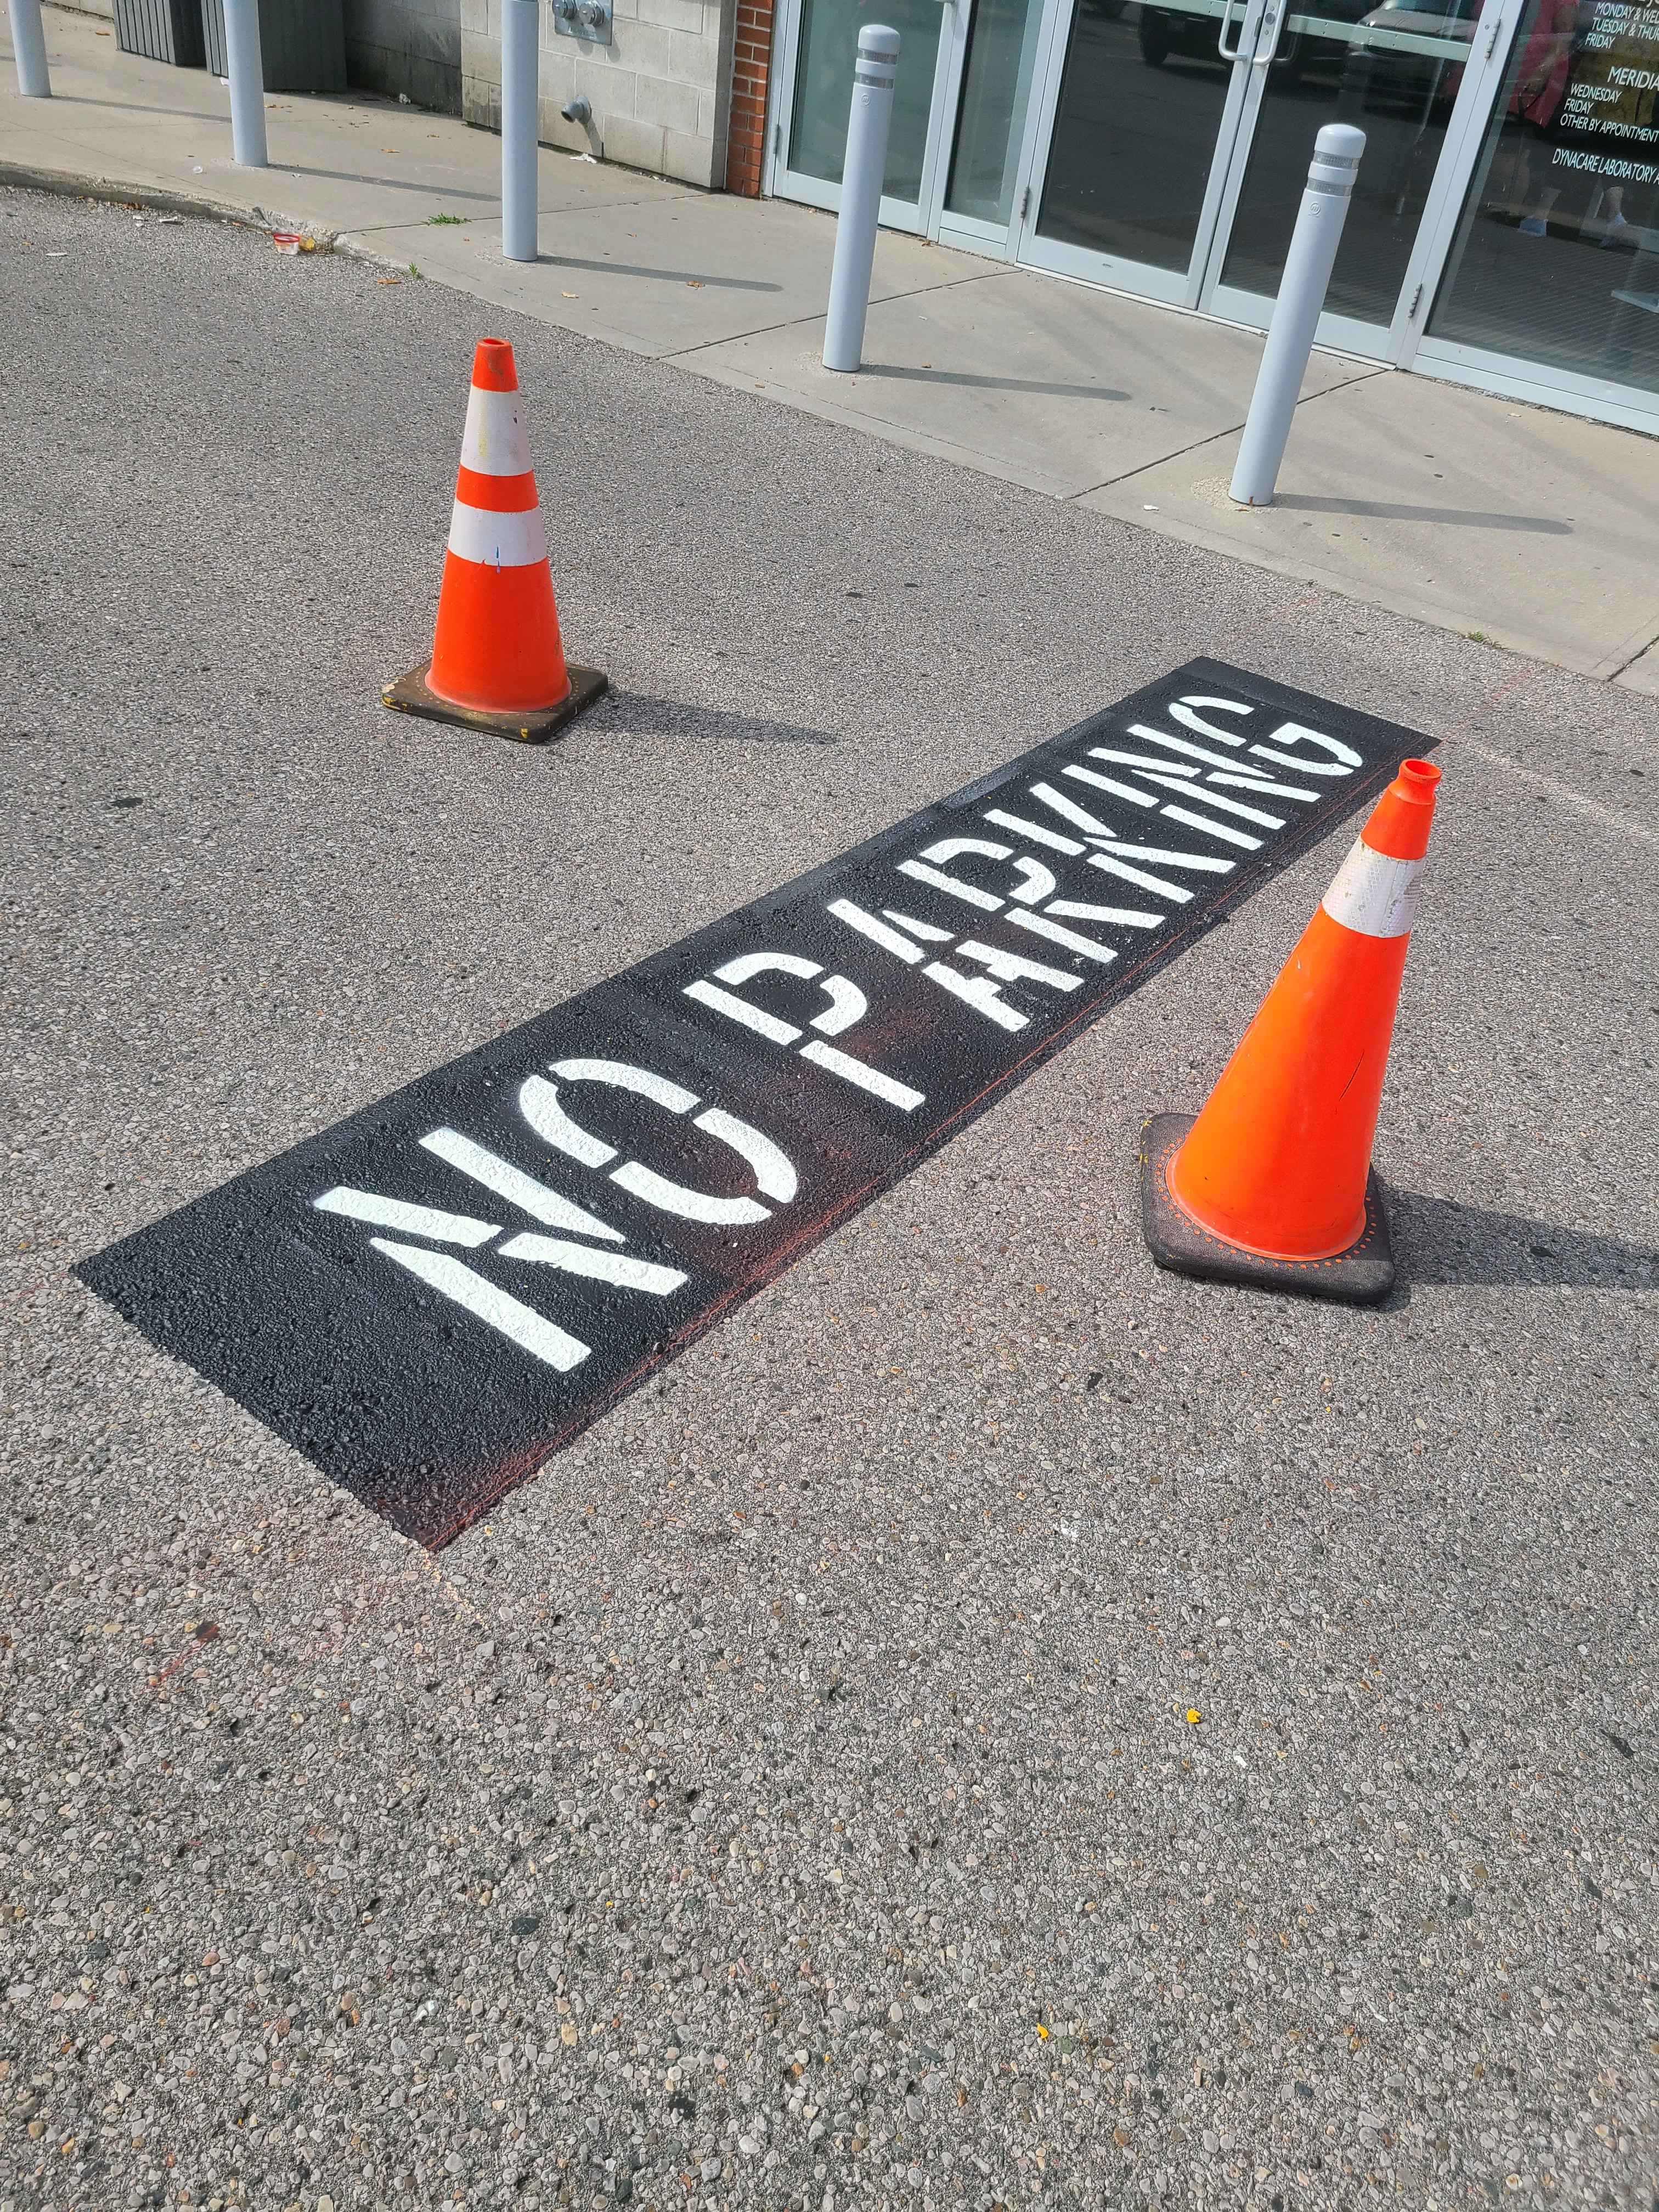
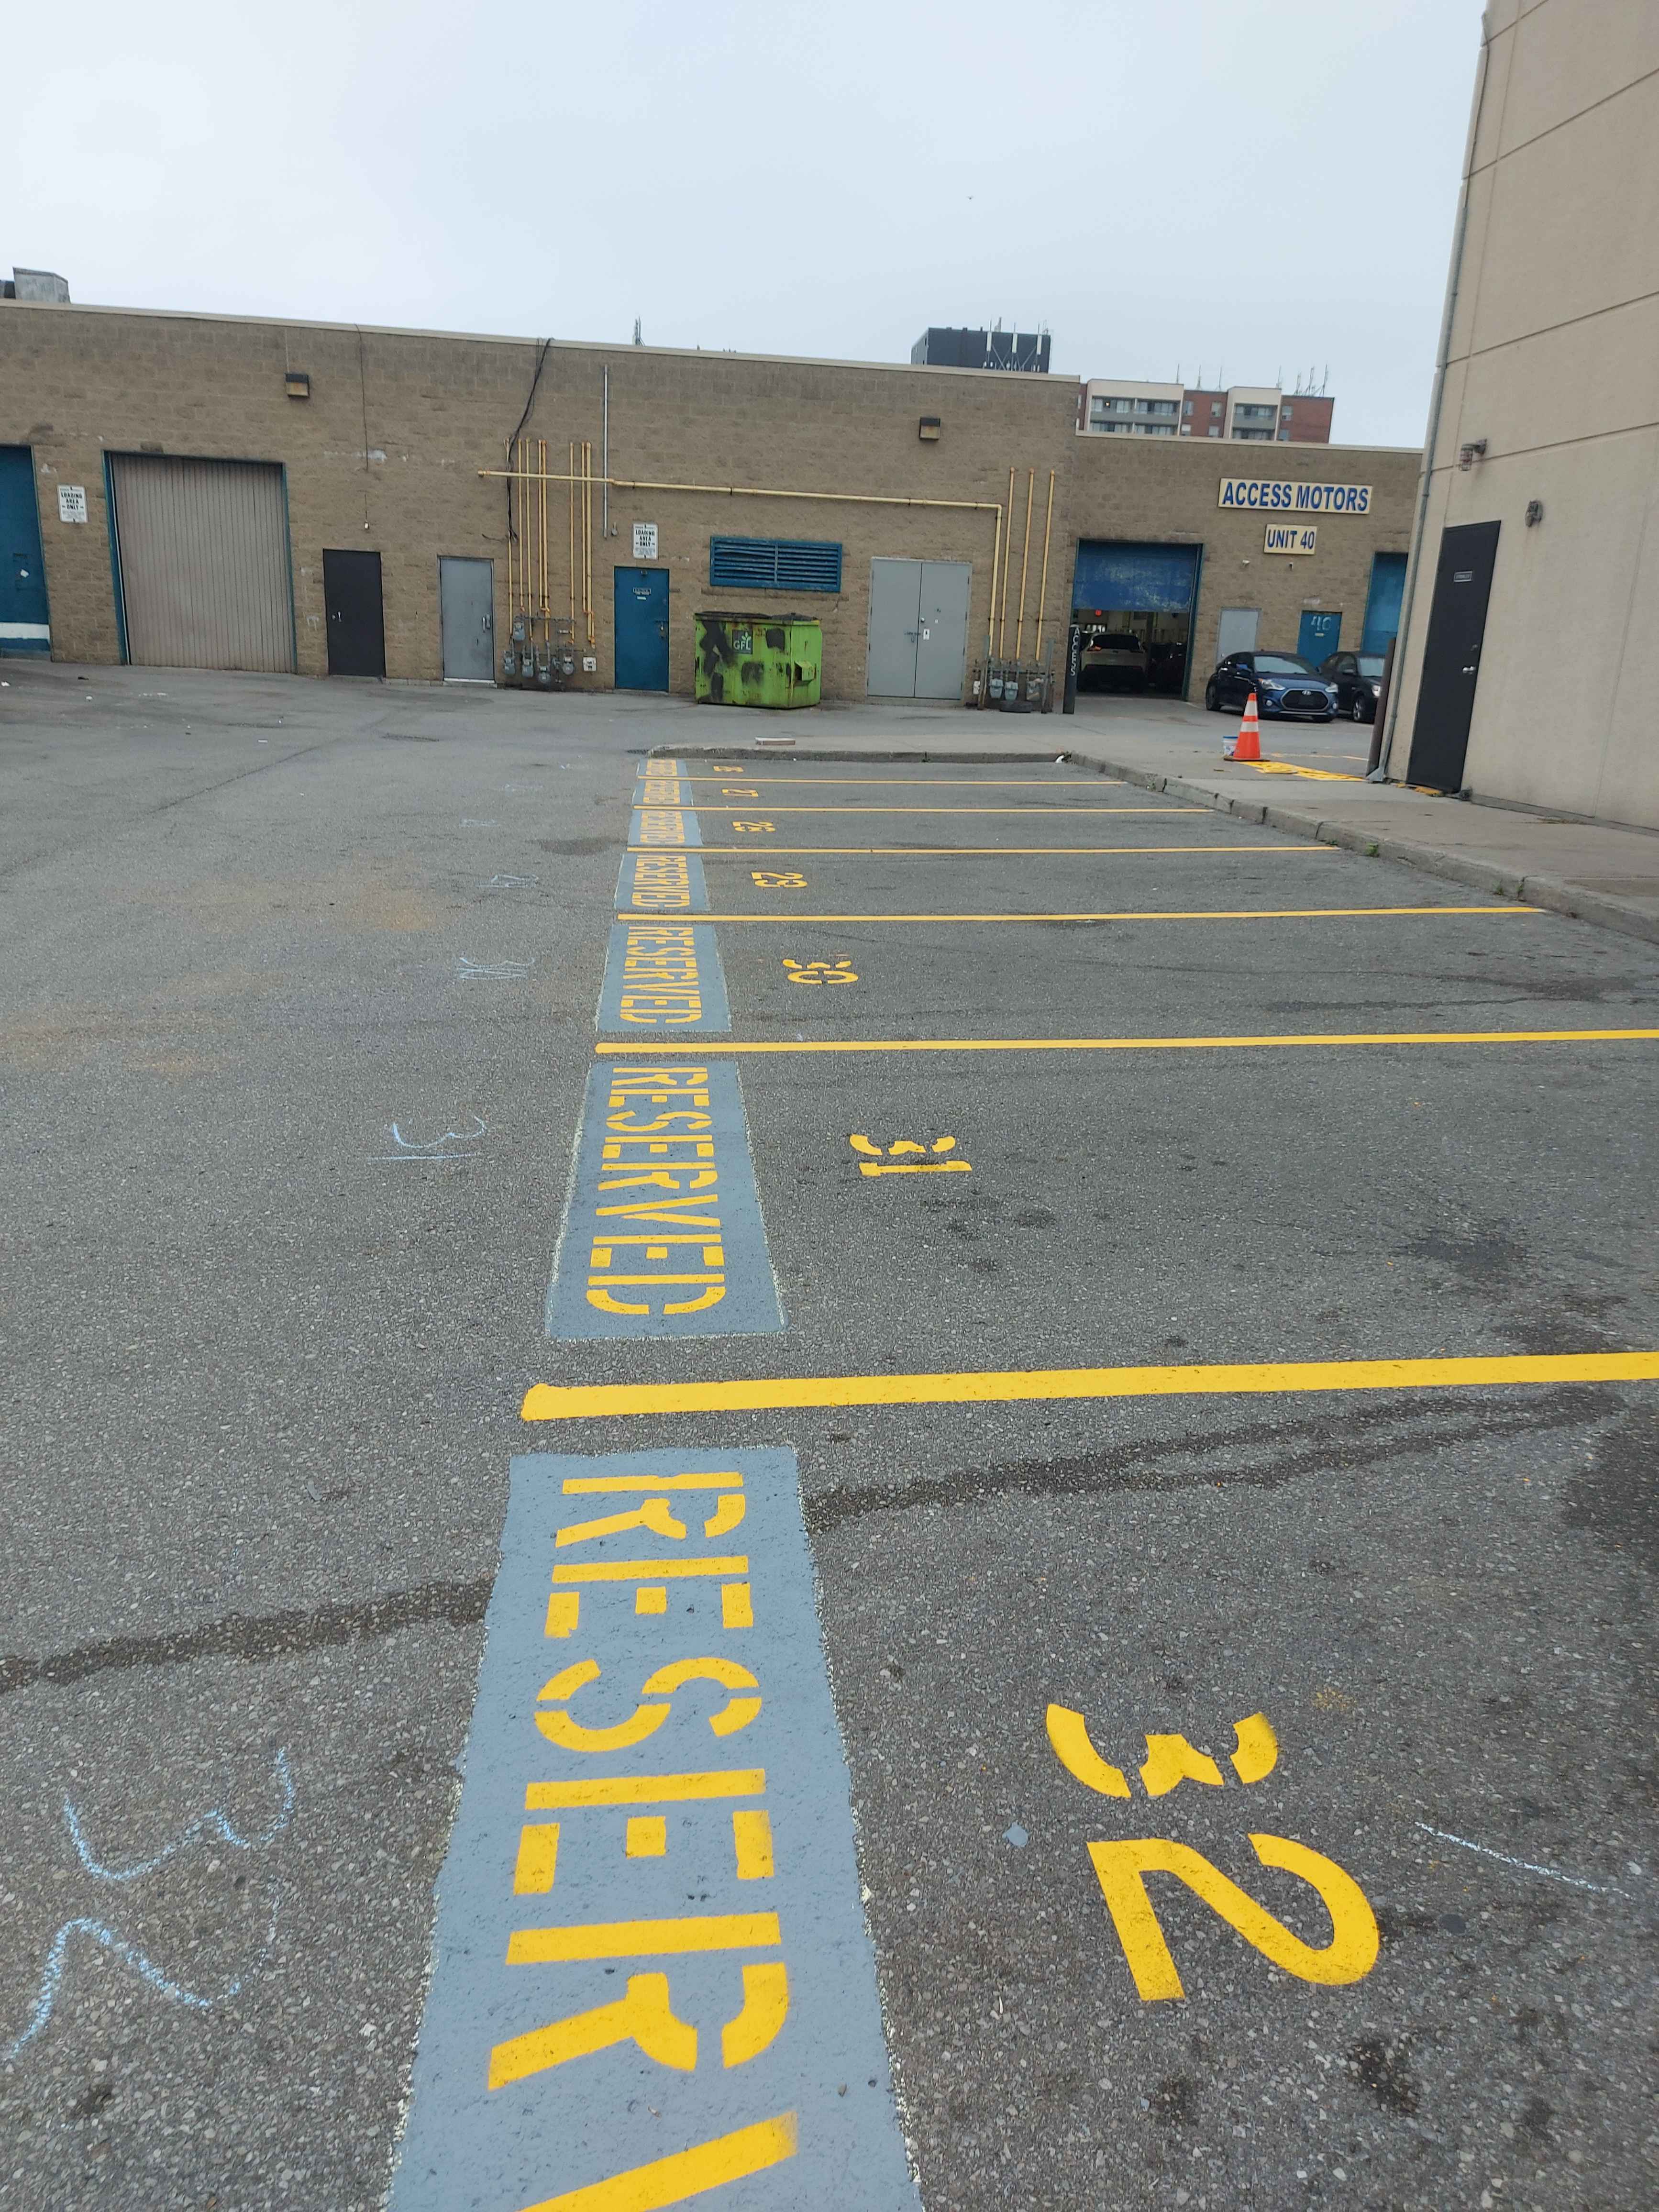
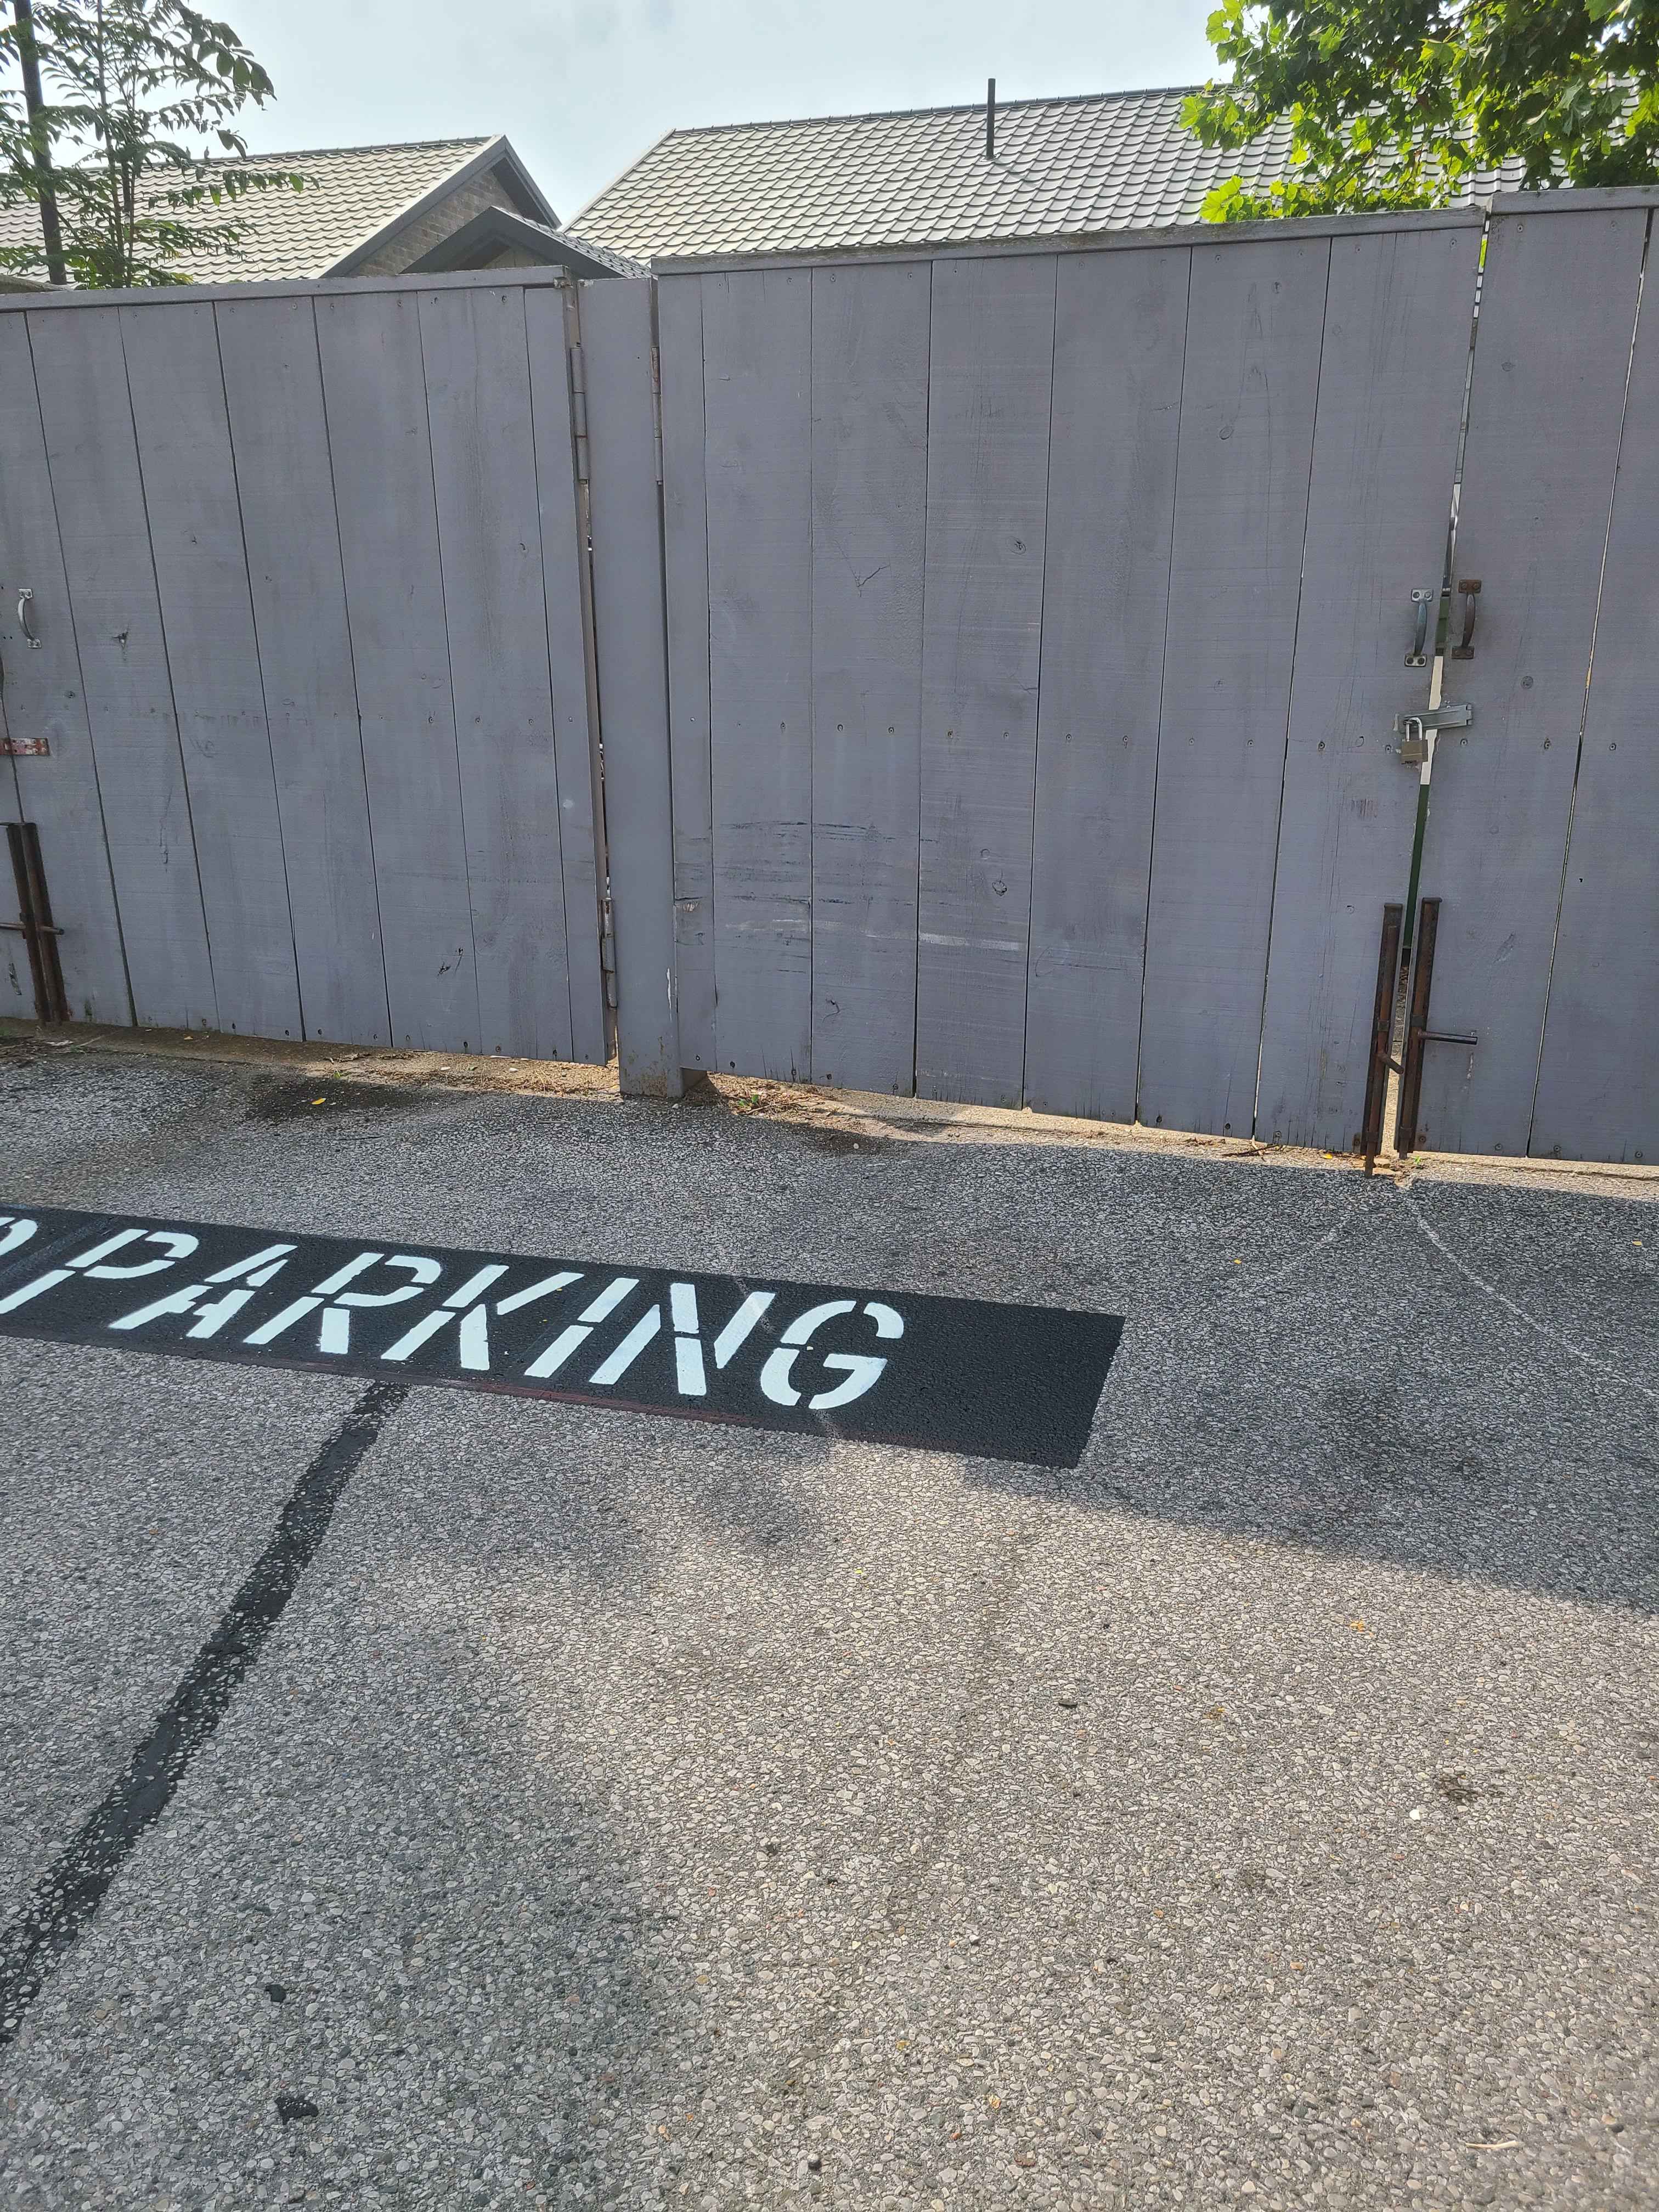
A freshly sealed black surface provides the perfect high-contrast background for professional Line Marking. Once the sealer has reached an appropriate state of dryness, we can proceed with defining your parking stalls, ADA-compliant symbols, and directional arrows.
Clear Line Painting is essential for traffic flow and safety. By combining sealcoating with precision Line Marking, your property in Hamilton will look brand new and operate with maximum efficiency.
Why Professionalism Matters
DIY sealcoating kits often fail because they lack the necessary solids to provide real protection. Professional teams like Capital Parking Lot Line Painting use industrial-grade materials designed to withstand the heavy load of commercial vehicles and the harsh Canadian winters.
Phase 4: Curing and Aftercare
The final and most critical stage for the property owner is the curing period. While the sealer may look dry to the touch within a few hours, it is not ready for heavy traffic immediately.
Typically, we recommend keeping vehicles off the treated surface for at least 24 to 48 hours. Factors such as humidity, temperature, and sunlight will influence this timeline. Walking on the surface is usually safe much sooner, but driving on it too early can cause "tracking," where the sealer sticks to tires and pulls up from the ground.