What to Expect During the Sealcoating Process
Asphalt is a resilient material, but it is constantly under siege from UV rays, water penetration, and heavy vehicle traffic. Understanding the professional sealcoating process is the first step toward extending the life of your pavement.
Why Sealcoating Matters for Your Property
Whether you manage a commercial lot in St. Catharines or a private residential driveway, the integrity of your asphalt is paramount. Sealcoating acts as a protective barrier, preventing the oxidation that causes asphalt to turn gray and brittle. By investing in regular maintenance through experts like Capital Parking Lot Line Painting, you are essentially applying a "sunscreen" to your pavement.
Without this layer, water can seep into small cracks, freeze, and expand, leading to costly potholes and structural failure. A well-executed sealcoating job not only preserves the surface but also enhances the curb appeal of your entire property.
The Step-by-Step Professional Workflow
A high-quality sealcoating job is not just about pouring liquid onto the ground. It is a meticulous multi-stage process that requires precision and the right equipment. Here is what you can expect when Capital Parking Lot Line Painting arrives on-site:
1. Surface Cleaning and Preparation
The most critical step is ensuring the asphalt is pristine. We begin by removing all dirt, debris, sand, and vegetation. This often involves high-powered blowers and industrial wire brushes. If there is oil or grease staining, specialized cleaners are applied to ensure the sealant can bond properly to the surface.
2. Crack Filling
Sealcoating alone will not fix structural issues. Before the sealant is applied, any significant cracks must be filled with a hot-applied rubberized filler. This prevents water from migrating beneath the surface. This step is vital for property owners in St. Catharines, where seasonal freeze-thaw cycles can wreak havoc on unmaintained pavement.
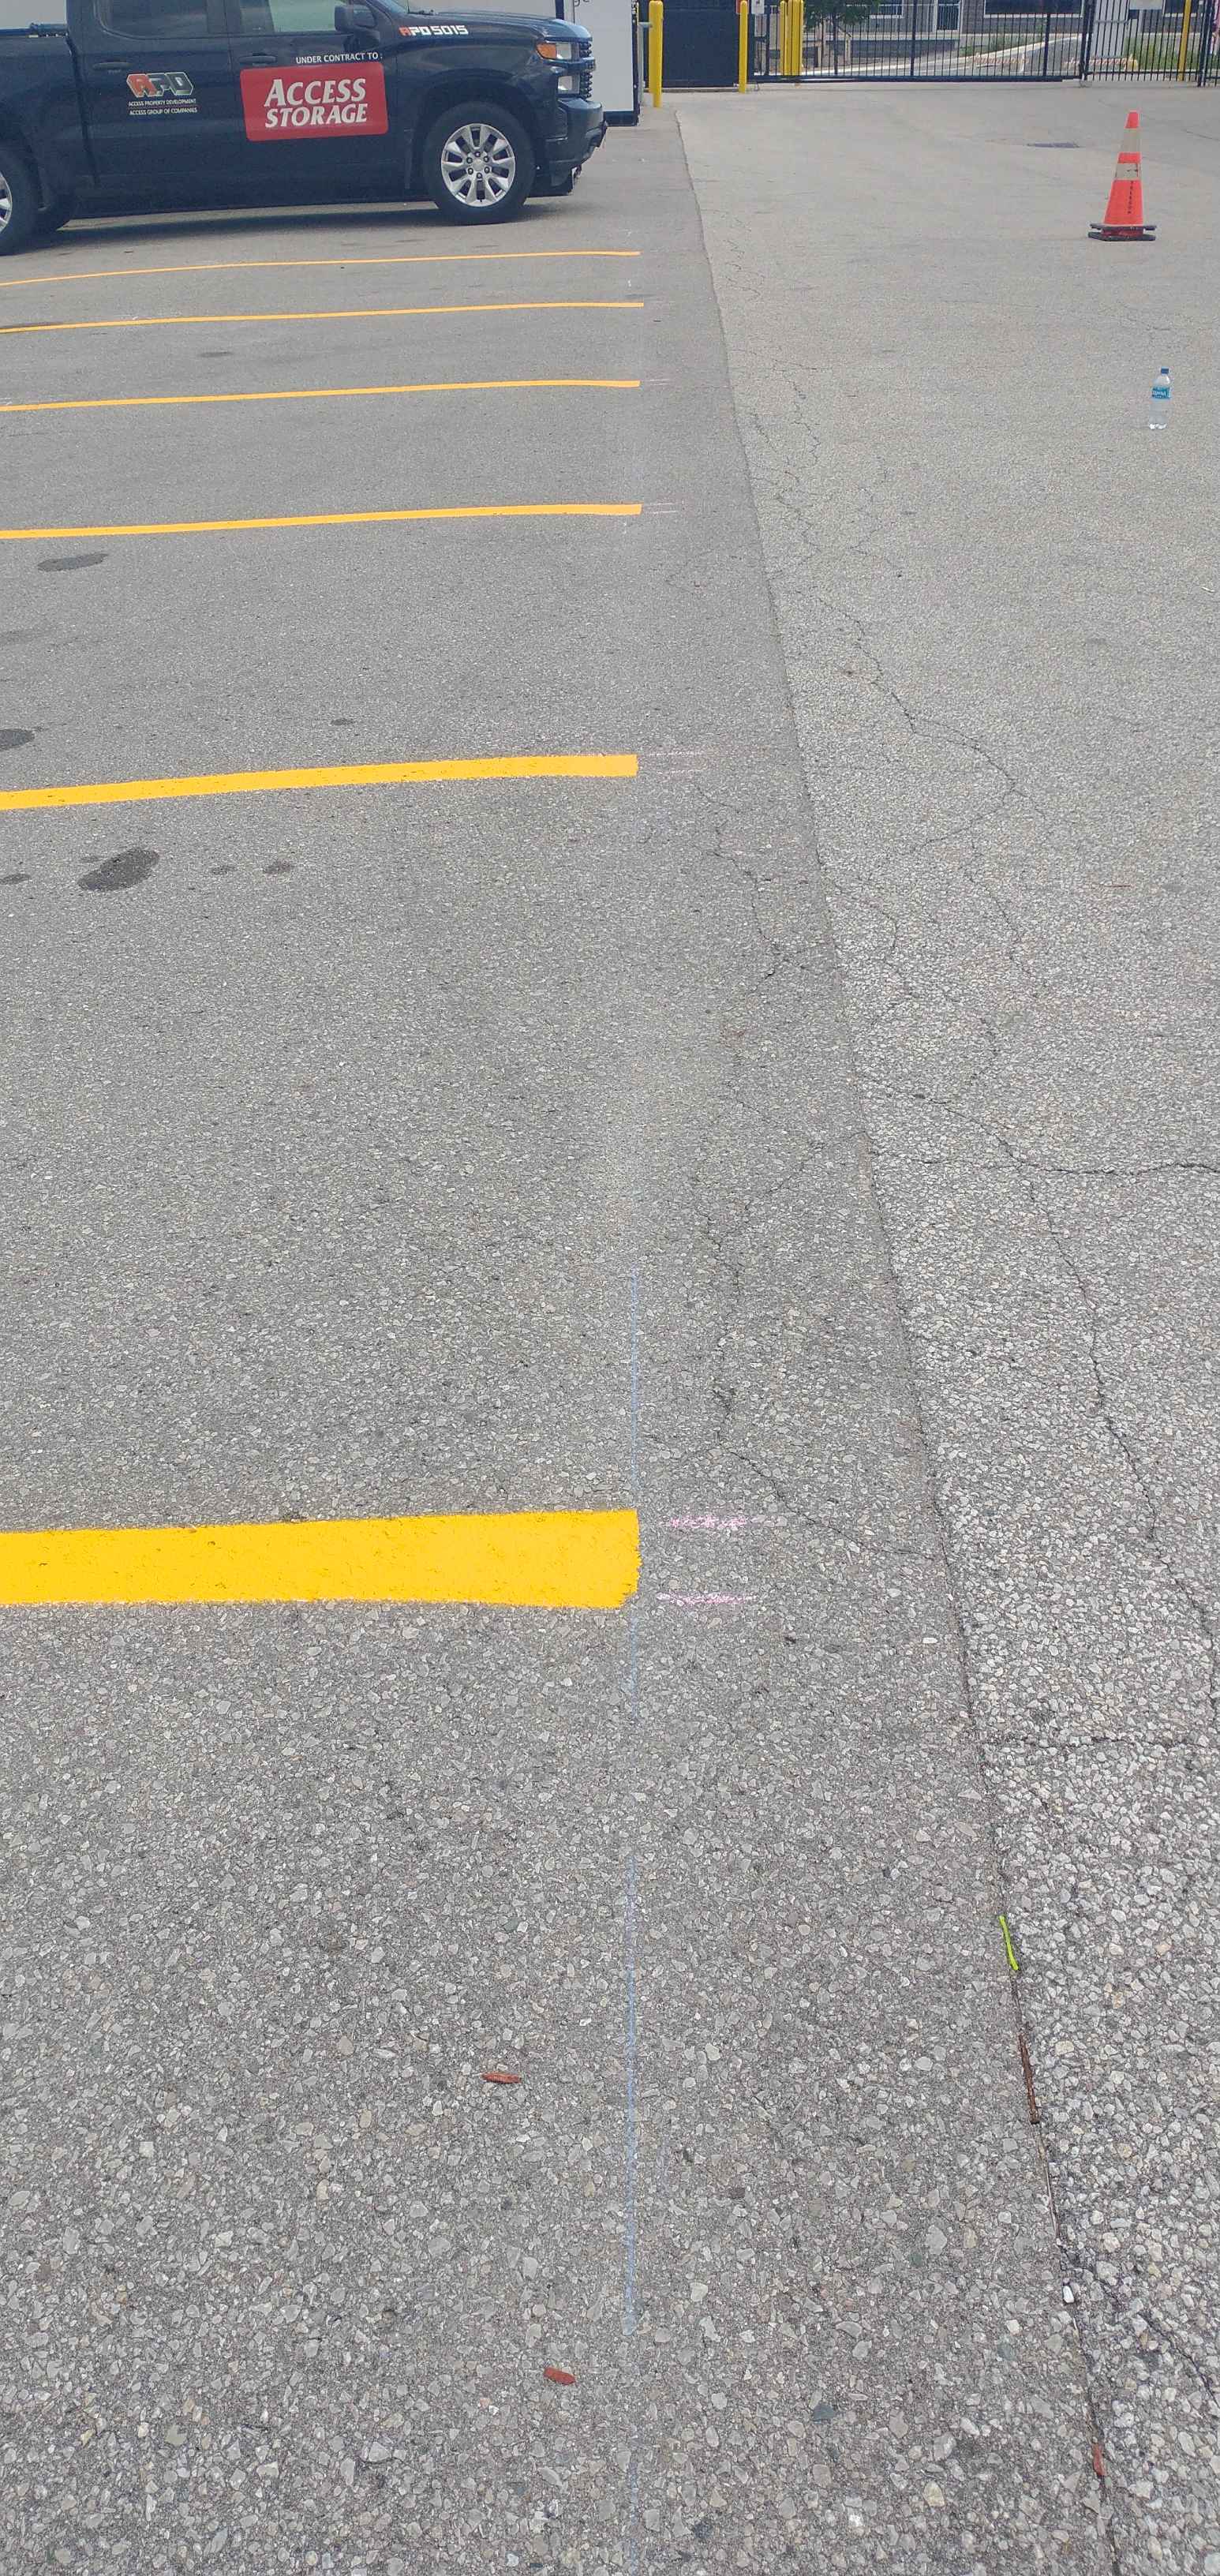
3. Sealant Application
Once the surface is clean and cracks are sealed, the sealant is applied. Depending on the specific needs of the site, this is done via spray application for an even coat or squeegee application for a thicker, more textured finish. The goal is a uniform layer that penetrates the pores of the asphalt without pooling in low spots.
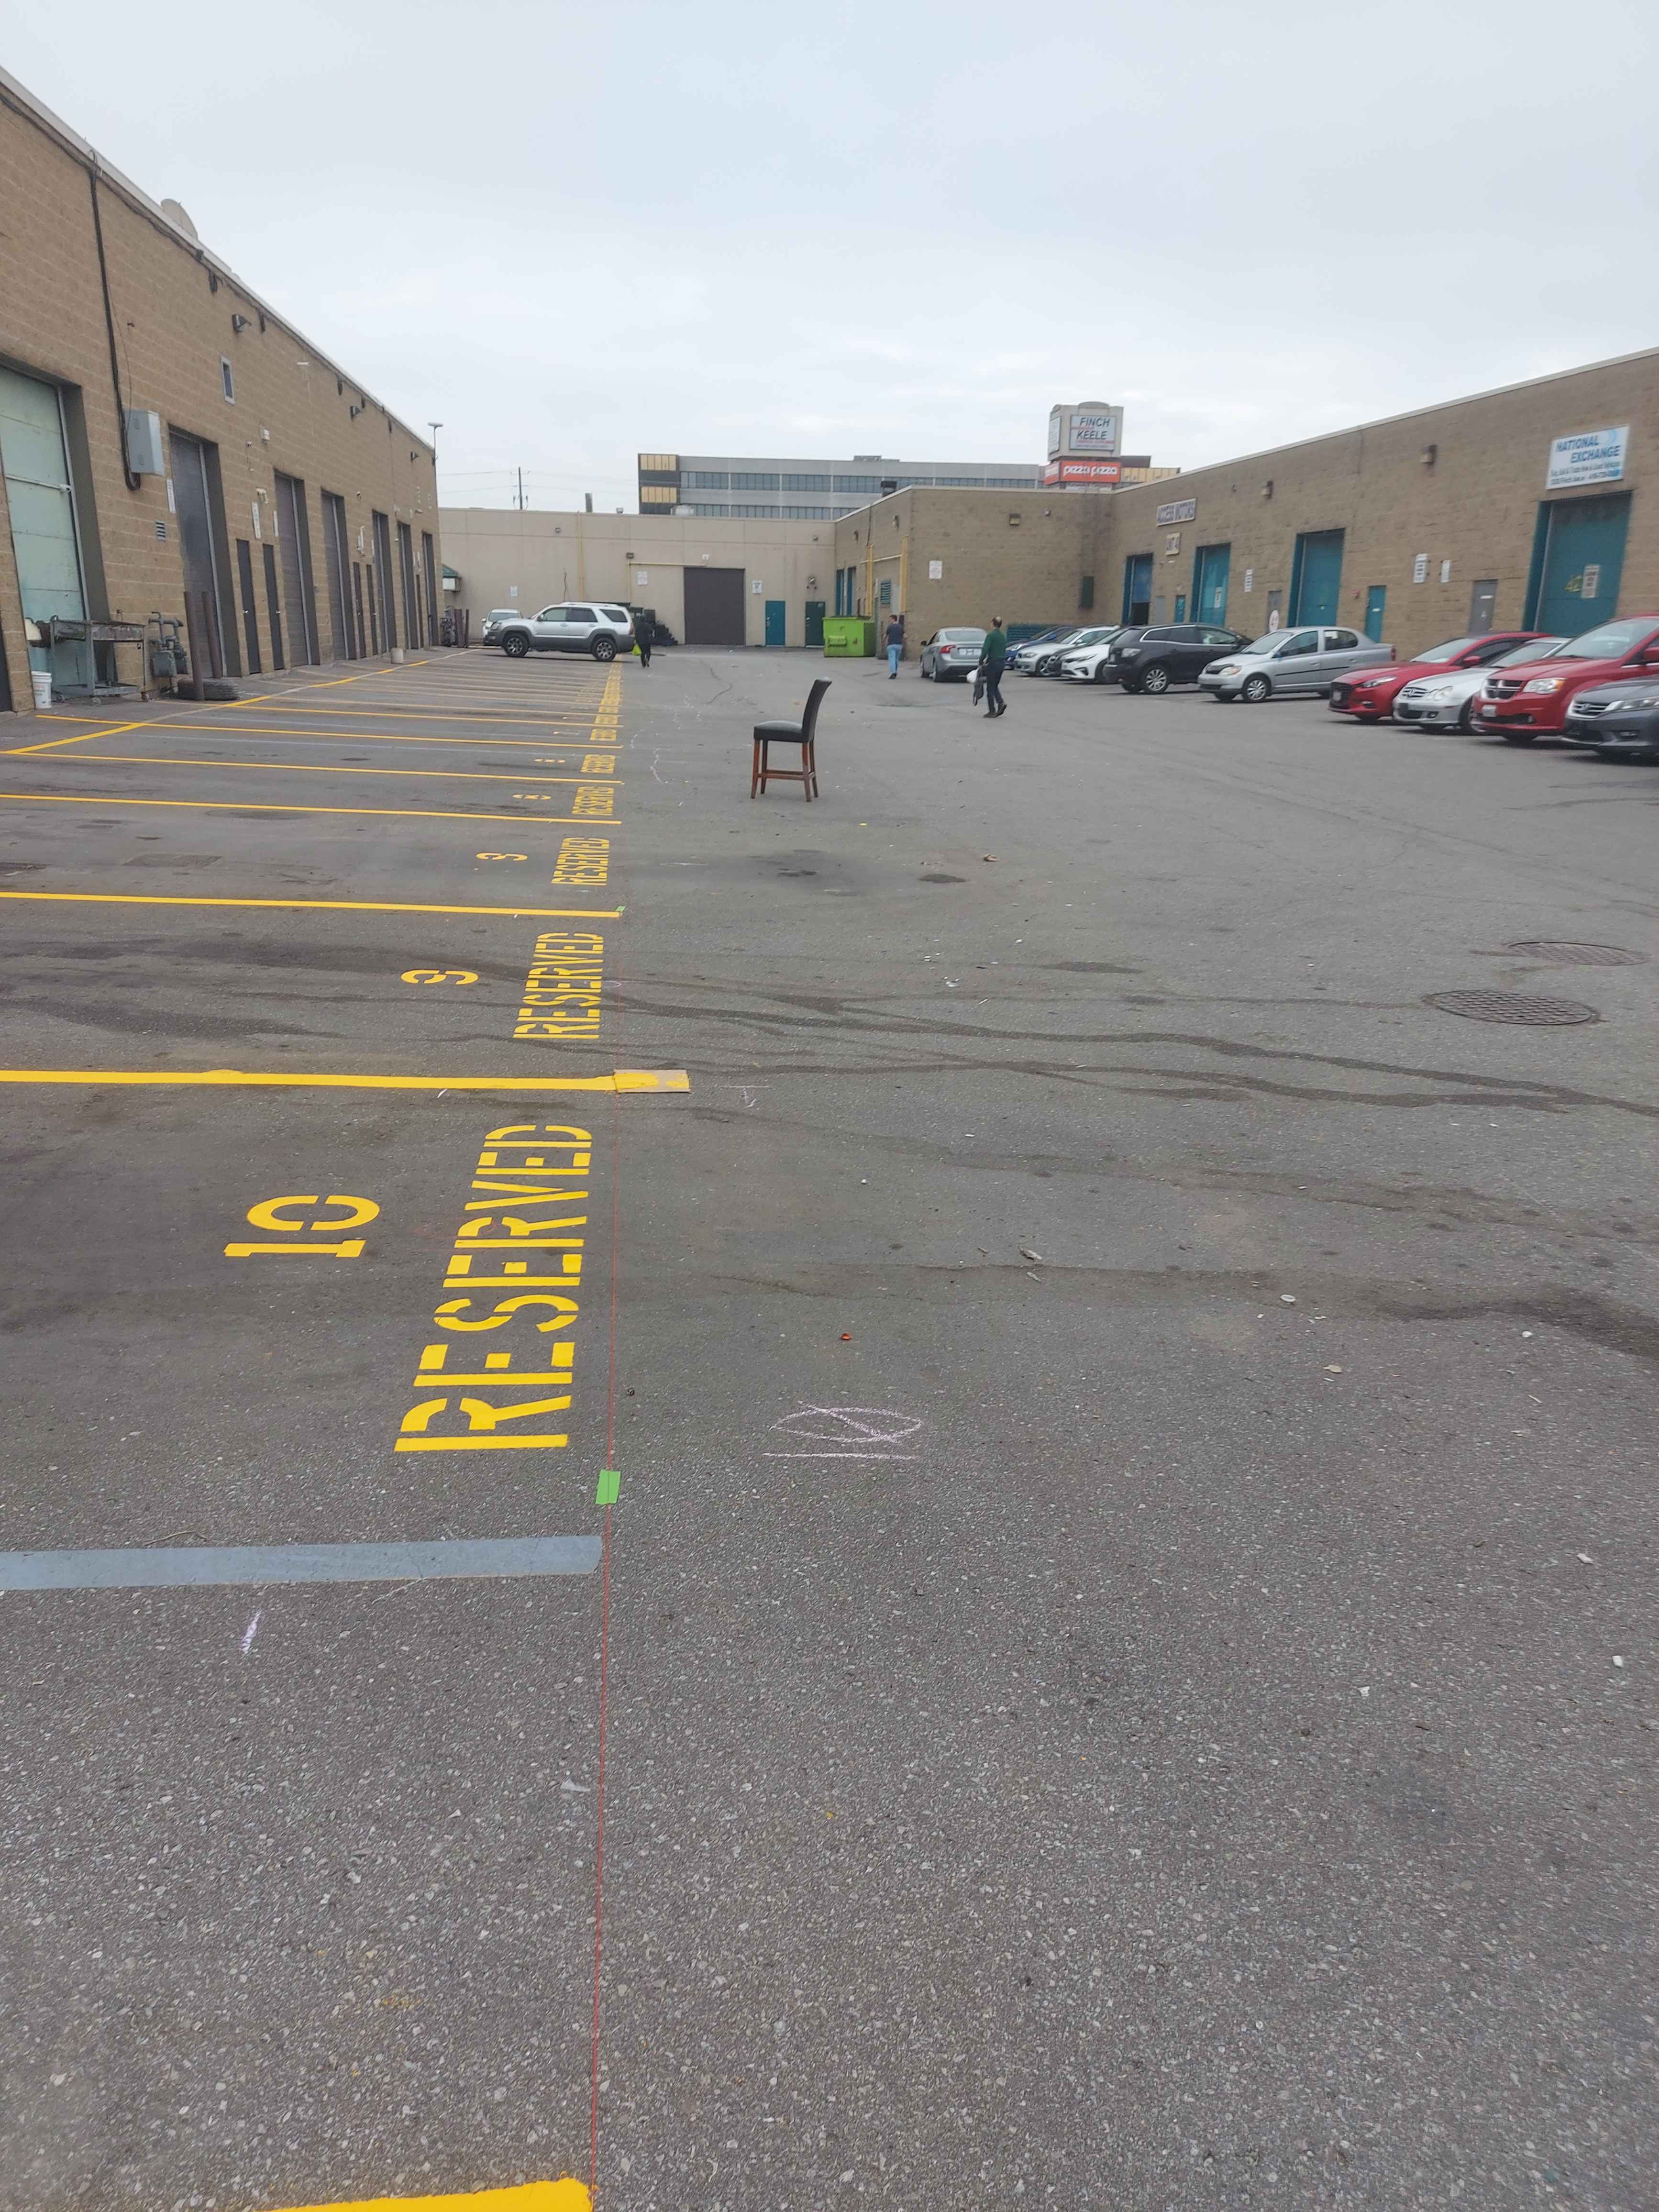
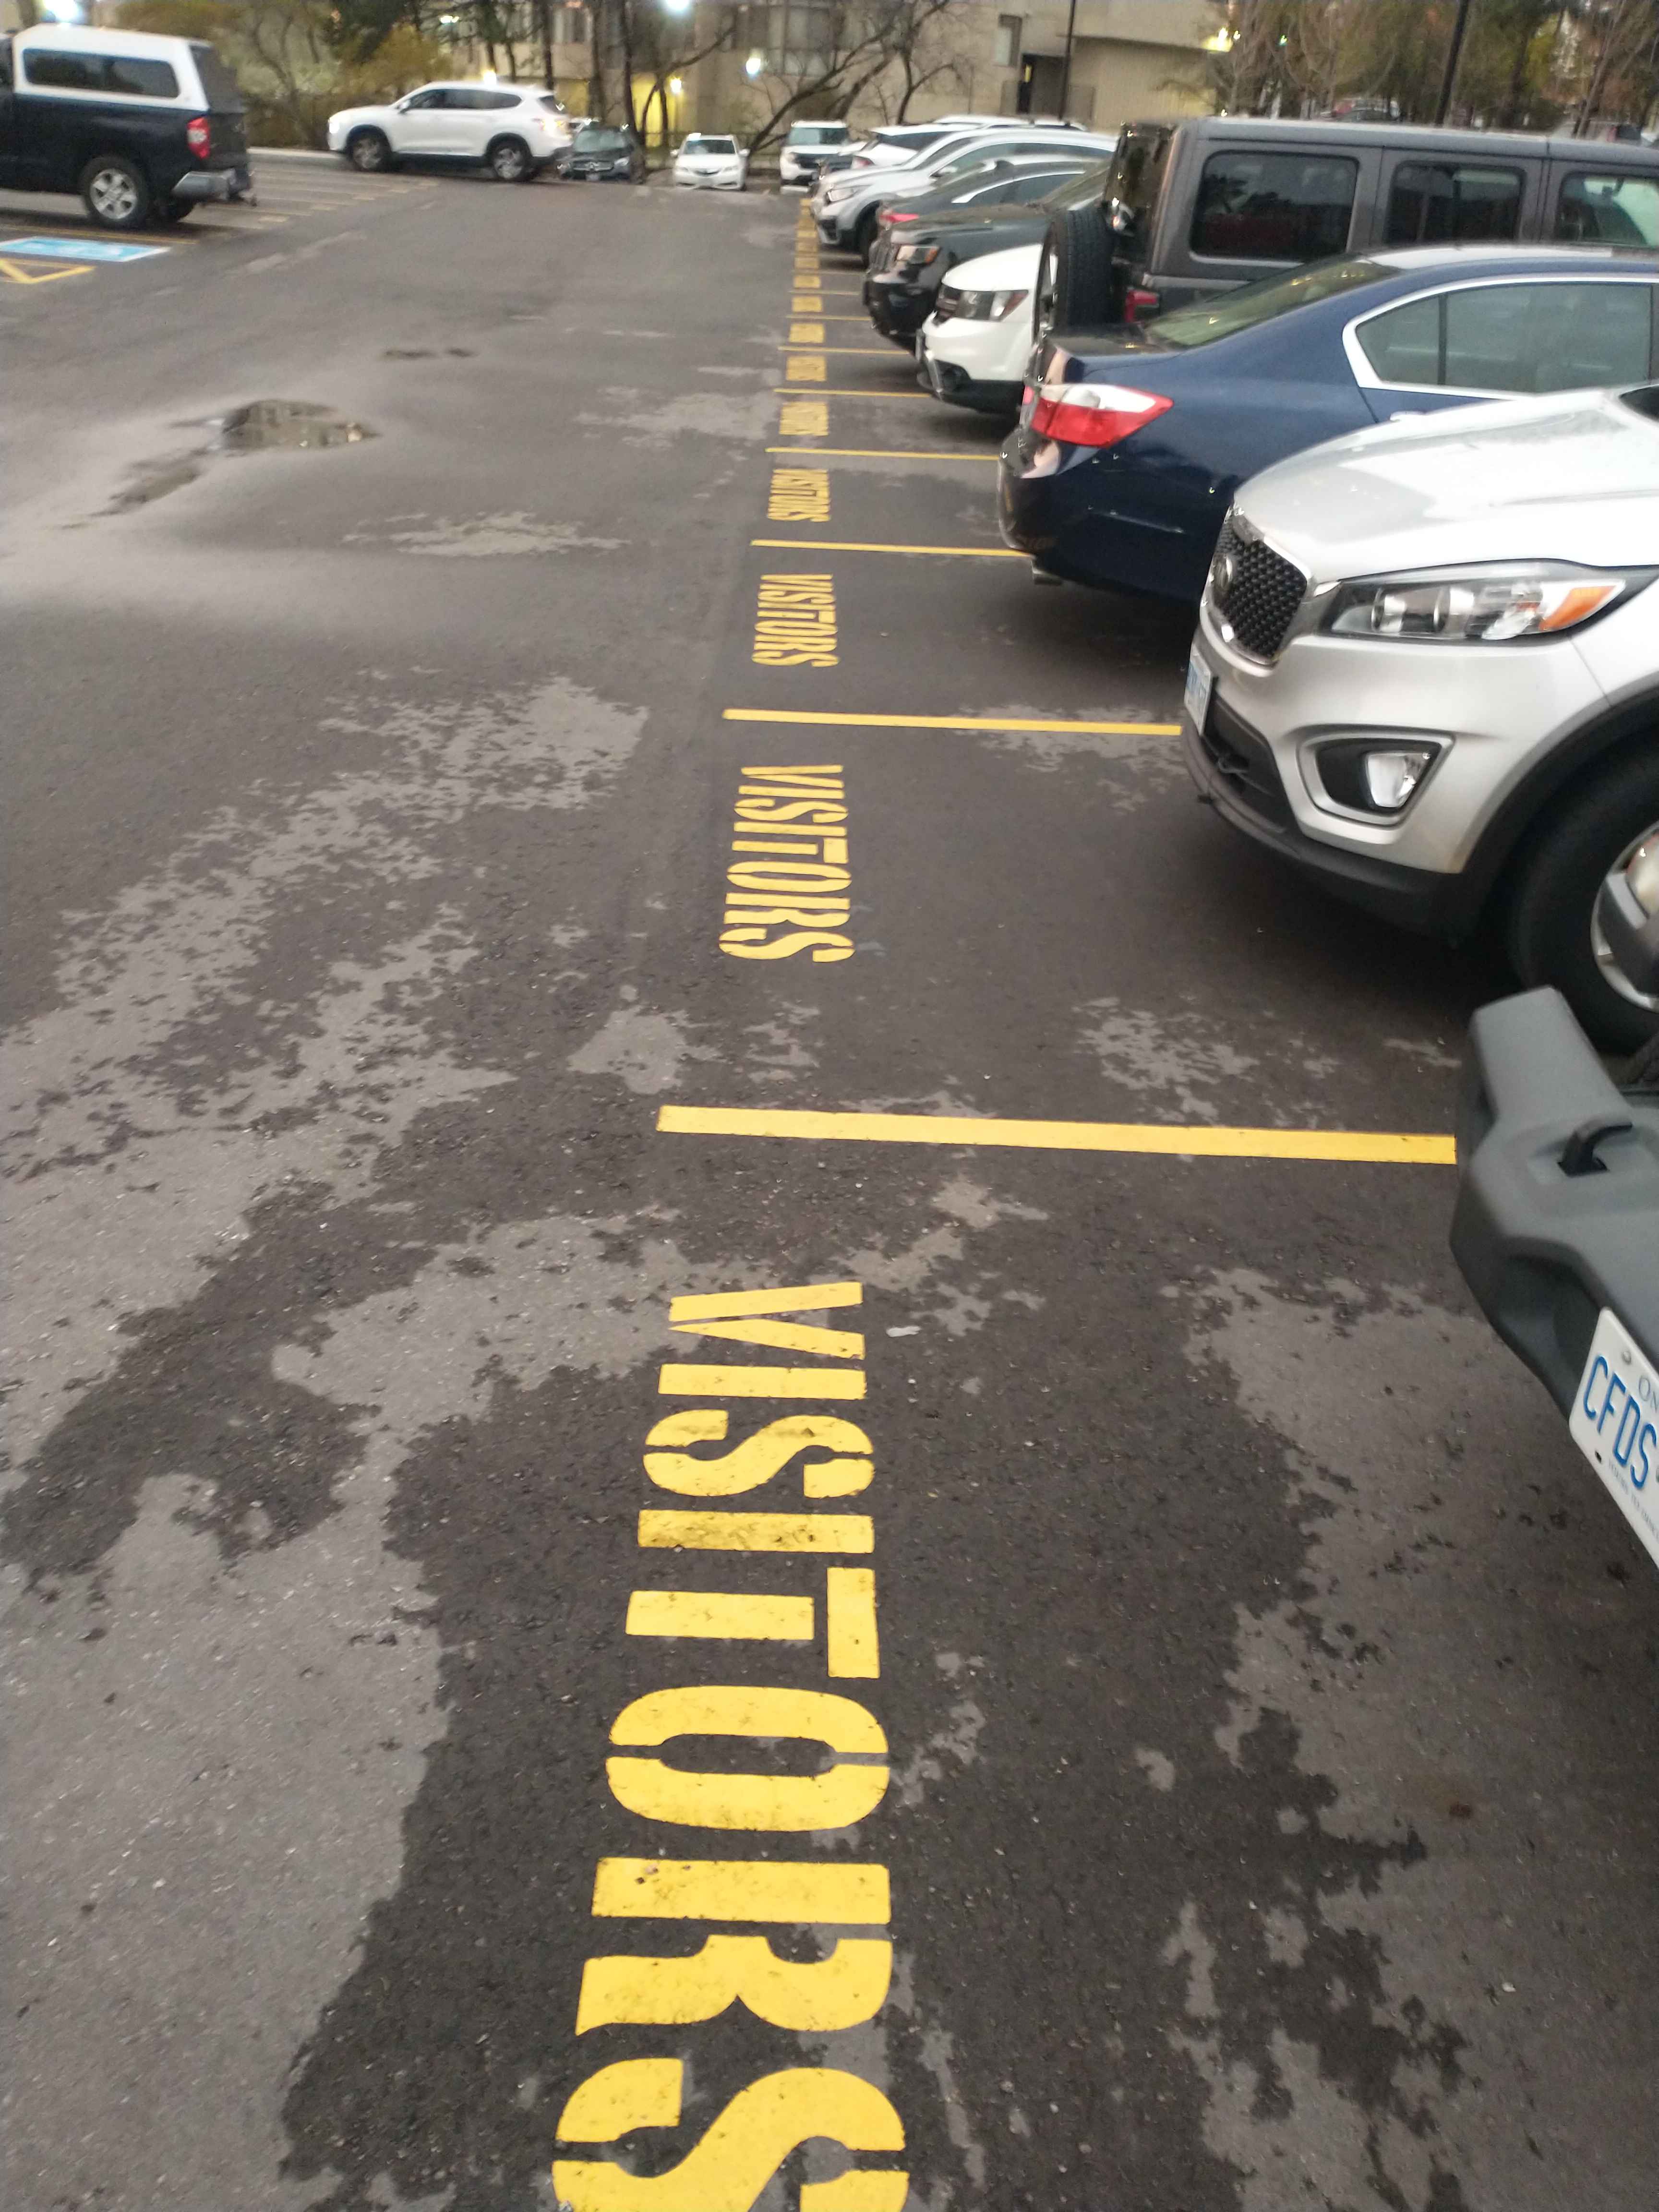
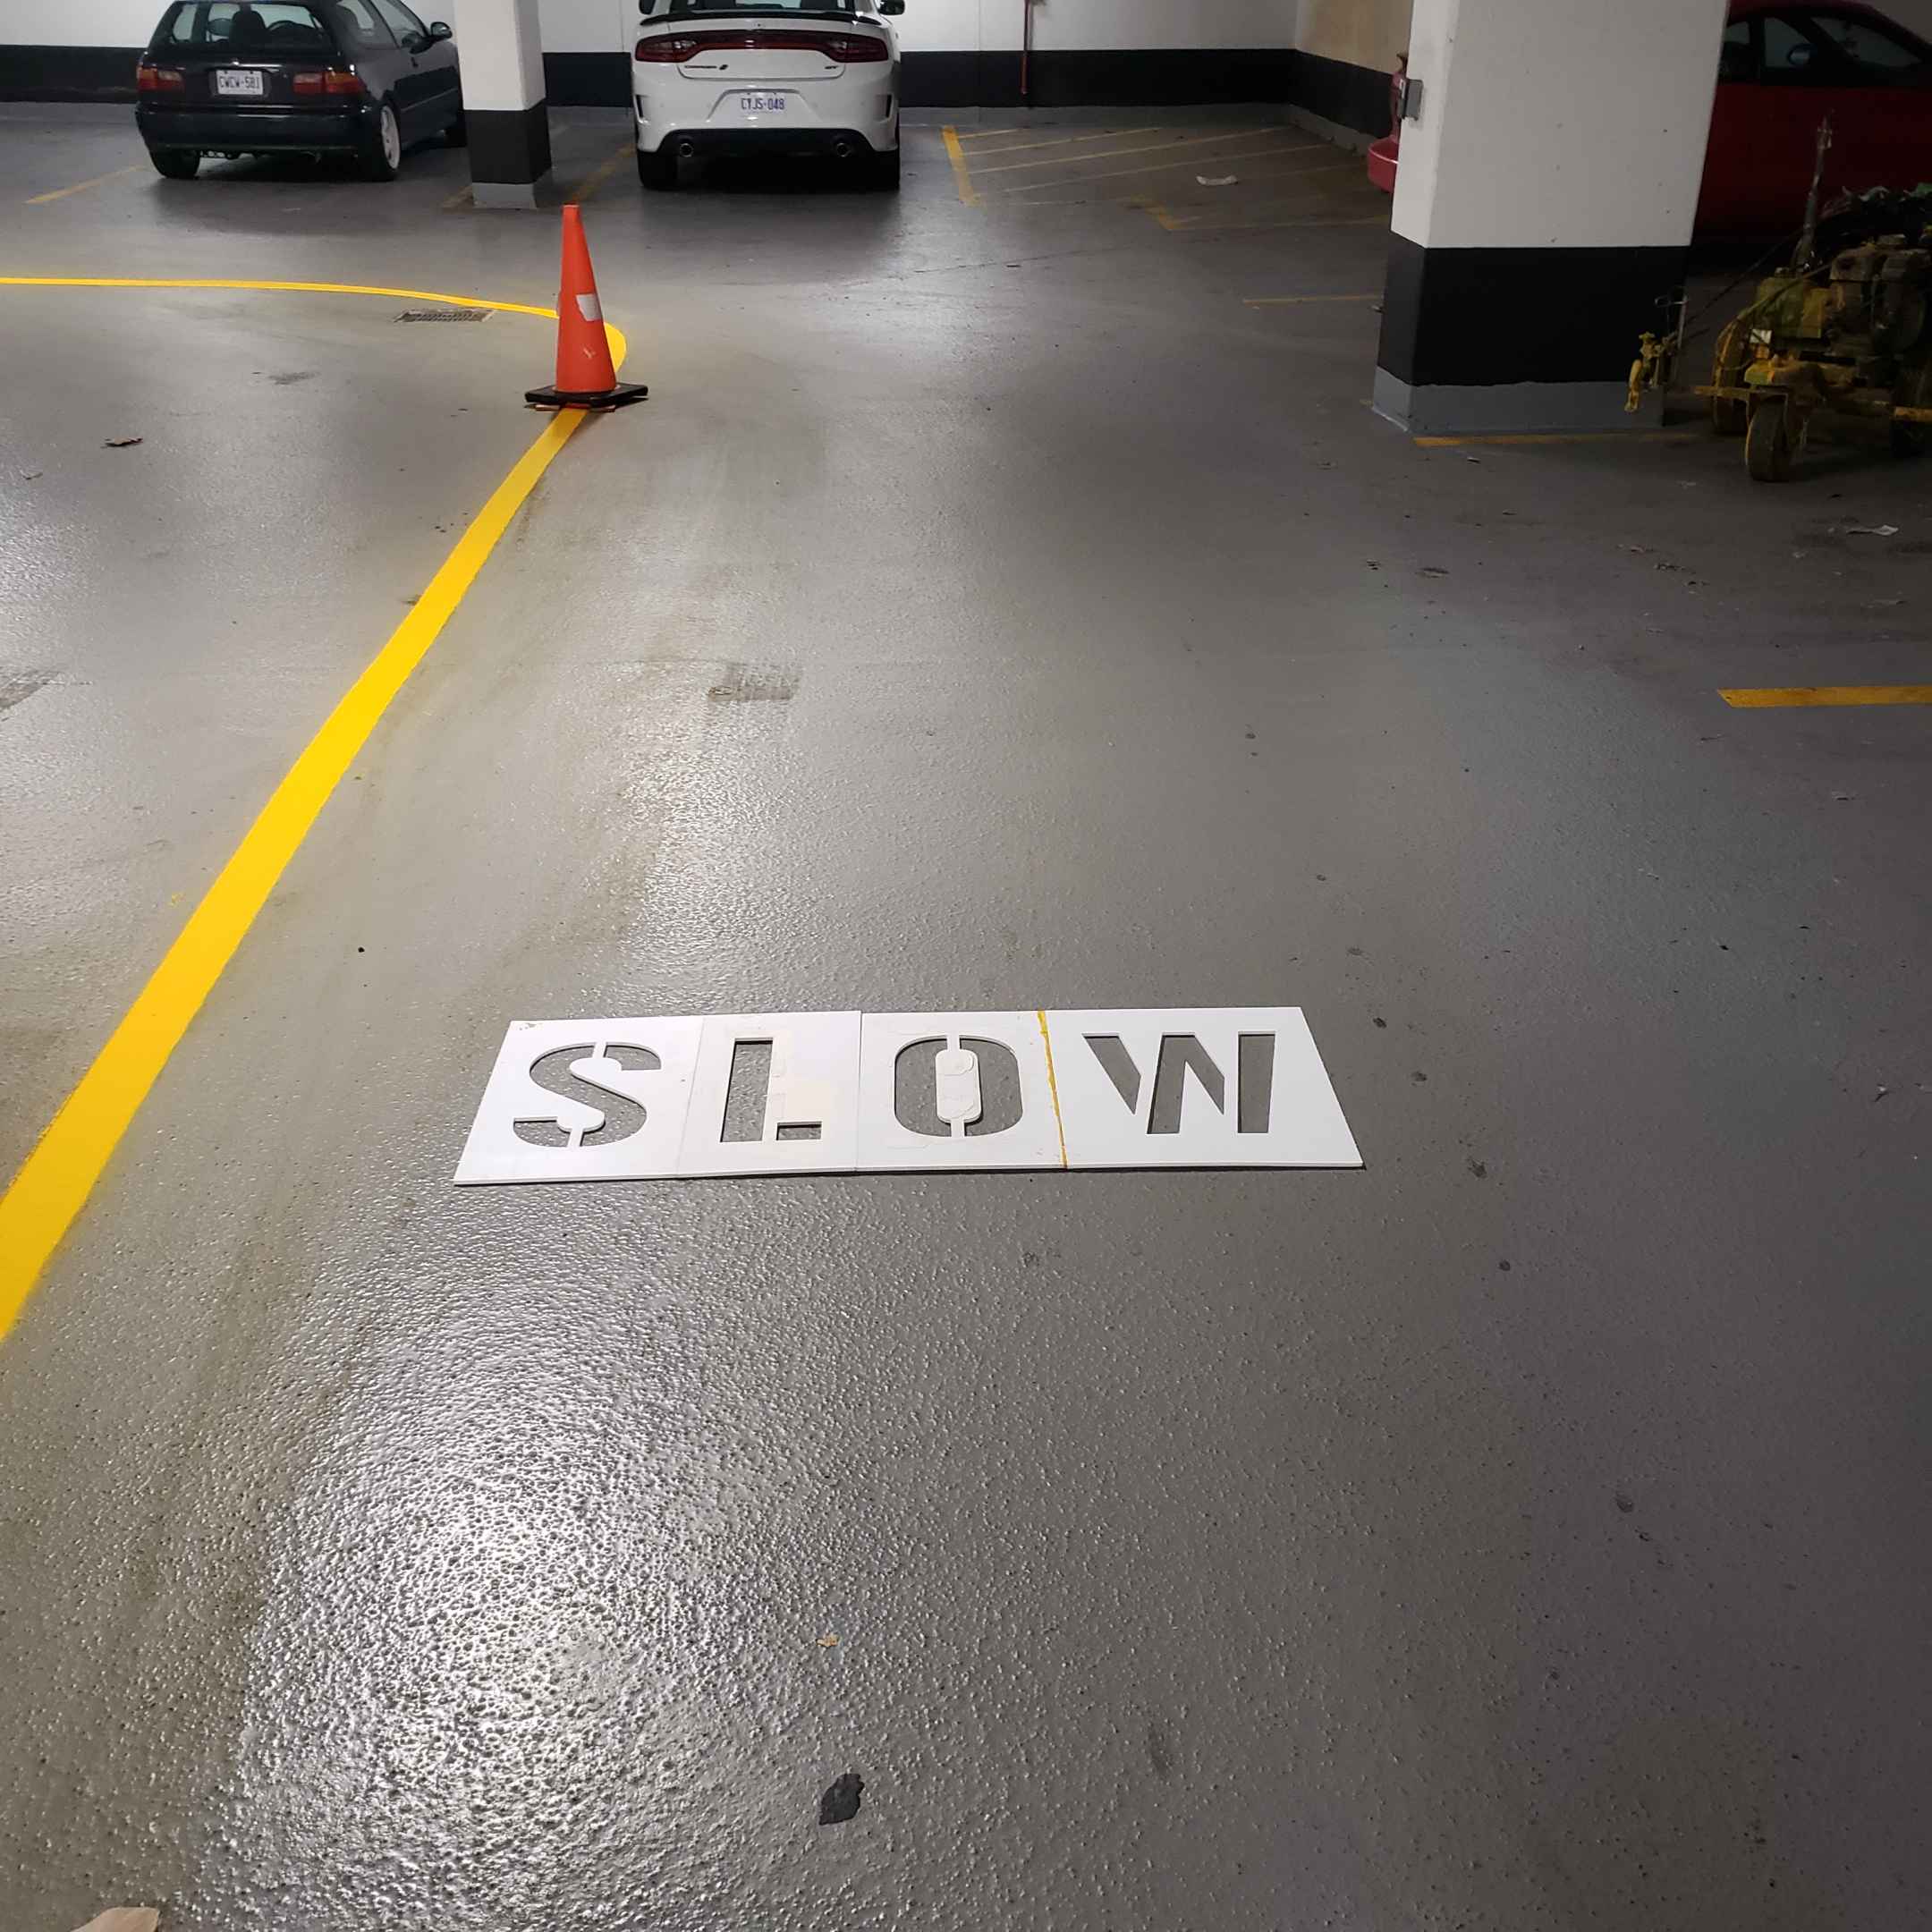
4. Line Marking and Final Touches
After the sealant has reached the appropriate state of cure, the final aesthetic and functional step occurs: Line Marking. Fresh, bright lines ensure that parking stalls, ADA-compliant spaces, and directional arrows are clearly visible, ensuring safety and organized traffic flow.
Key Benefits of Regular Maintenance
Why should you prioritize this service? Here are the primary advantages:
- Extended Asphalt Lifespan: Reduces the need for expensive full-depth repairs or complete repaving.
- Waterproofing: Creates a shield against moisture and chemical spills.
- Enhanced Aesthetics: Restores the deep black color of the asphalt, making the property look well-maintained.
- Improved Safety: When combined with professional Line Marking, it improves driver visibility and navigation.
Common Mistakes to Avoid
Many property owners attempt to save money by using DIY kits, but this often leads to subpar results. Common pitfalls include:
- Applying sealant over wet or dirty asphalt.
- Ignoring existing cracks and expecting the sealant to fill them.
- Allowing traffic on the surface before the sealant has fully cured.
- Using low-quality materials that lack the necessary polymer additives.
By choosing Capital Parking Lot Line Painting, you avoid these common errors, ensuring a professional-grade finish that stands the test of time.
Quick Reference Summary
Pro Tip: Always ensure your parking lot is cordoned off during the application. Sealcoating requires a specific curing window—usually 24 to 48 hours—before vehicles can safely traverse the surface without leaving marks or damaging the new coat.